
데이터 수집
Step 1: 데이터 수집하기
작품의 인식정확도를 높이기 위해 데이터를 수집합니다.
① Video to JPG Converter
데이터를 수집하기 위해서 티처블머신(Teachable Machine)을 이용해 진행하였습니다.
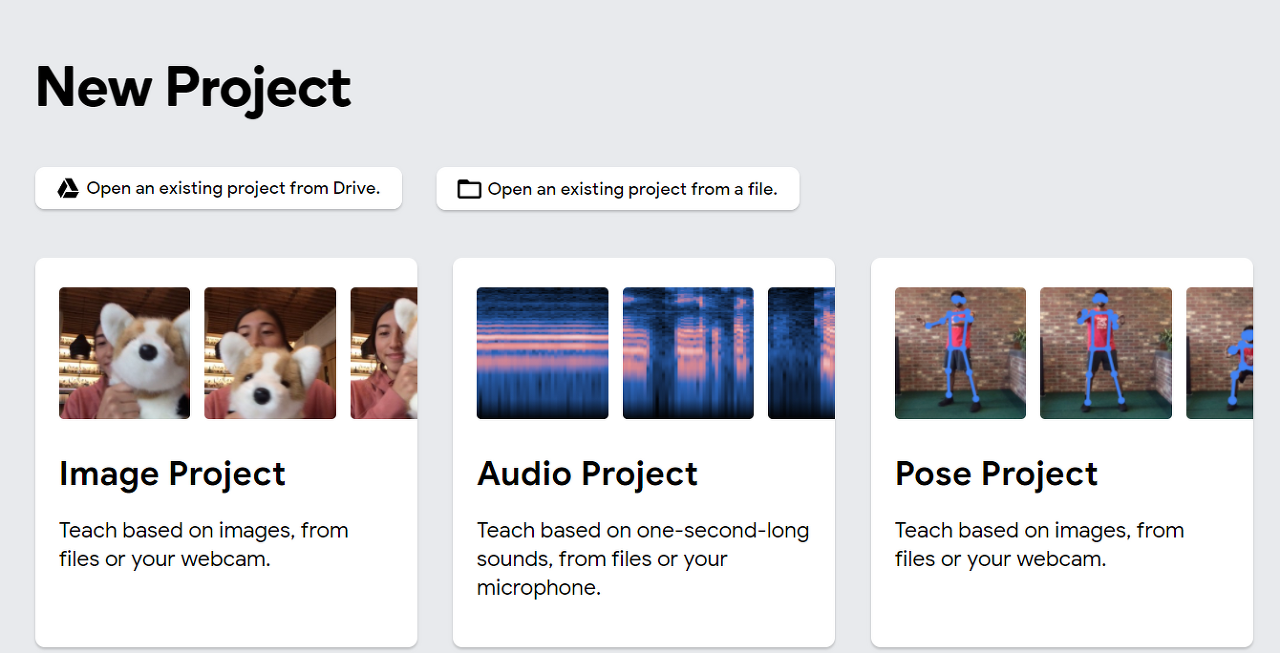
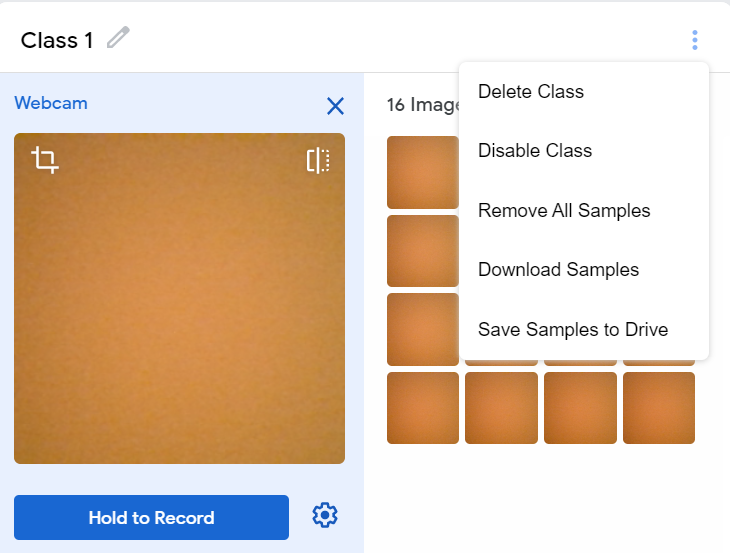
Teachable Machine에 들어간 뒤 Hold to Record를 누르는 동안 연사가 찍히고 Download Samples를 누르면 수집한 데이터들을 다운받을 수 있습니다.
② 동영상을 JPG로 변환
동영상파일을 프레임별로 잘라 사진 파일로 내보내주는 툴도 사용해 진행해 보았습니다.
참고링크
– https://m.blog.naver.com/ferieo/220701158144
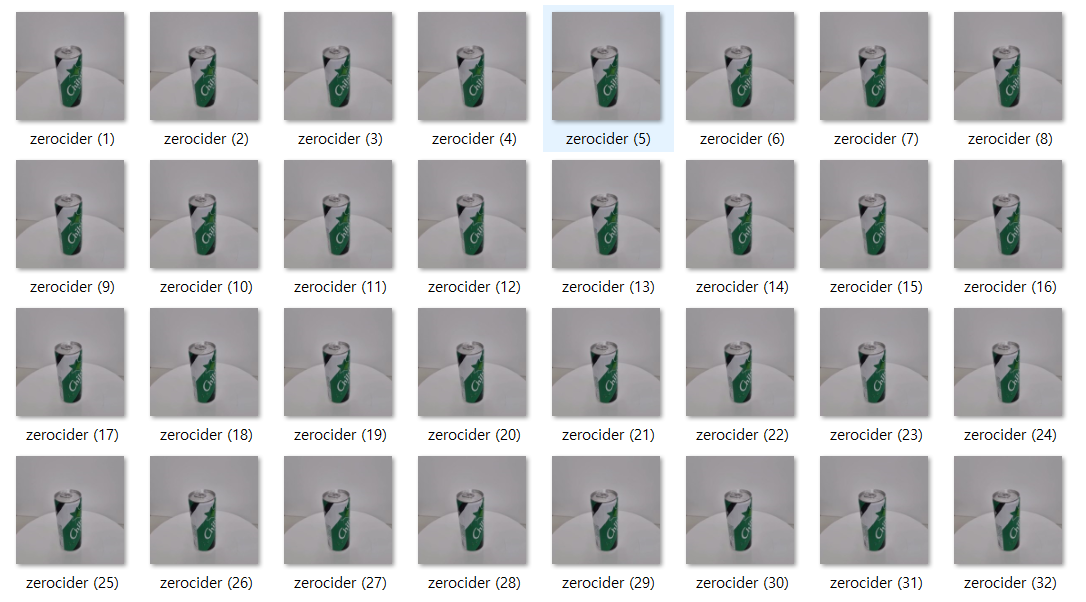
Frames for video를 설정한 값에 따라 영상에서 원하는 frame 수만큼 이미지를 잘라 저장합니다.
이미지를 추출하면 다음과 같이 학습데이터 이미지 파일을 수집할 수 있습니다.
③ 크롤링
데이터셋을 늘리기 위해 크롤링을 수행합니다.
naver나 google에 있는 관련 이미지들을 다운로드 받기 위해 아래와 같은 코드를 이용해 크롤링을 실행하였습니다.
# 웹사이트 이미지 다운로드
# USAGE
# python download_images.py --urls urls.txt --output images/santa

# import the necessary packages
from imutils import paths
import argparse
import requests
import cv2
import os

# construct the argument parse and parse the arguments
ap = argparse.ArgumentParser()
ap.add_argument("-u", "--urls", required=True,
	help="path to file containing image URLs")
ap.add_argument("-o", "--output", required=True,
	help="path to output directory of images")
args = vars(ap.parse_args())

# grab the list of URLs from the input file, then initialize the
# total number of images downloaded thus far
rows = open(args["urls"]).read().strip().split("\n")
total = 0

# loop the URLs
for url in rows:
	try:
		# try to download the image
		r = requests.get(url, timeout=60)

		# save the image to disk
		p = os.path.sep.join([args["output"], "{}.jpg".format(
			str(total).zfill(8))])
		f = open(p, "wb")
		f.write(r.content)
		f.close()

		# update the counter
		print("[INFO] downloaded: {}".format(p))
		total += 1

	# handle if any exceptions are thrown during the download process
	except:
		print("[INFO] error downloading {}...skipping".format(p))

# loop over the image paths we just downloaded
for imagePath in paths.list_images(args["output"]):
	# initialize if the image should be deleted or not
	delete = False

	# try to load the image
	try:
		image = cv2.imread(imagePath)

		# if the image is `None` then we could not properly load it
		# from disk, so delete it
		if image is None:
			print("None")
			delete = True

	# if OpenCV cannot load the image then the image is likely
	# corrupt so we should delete it
	except:
		print("Except")
		delete = True

	# check to see if the image should be deleted
	if delete:
		print("[INFO] deleting {}".format(imagePath))
		os.remove(imagePath)
Step 2: 데이터 라벨링
데이터를 다 수집한 후 인식하려는 부분을 지정해주기 위해 라벨링 과정을 진행합니다.
각 물체마다 class 번호도 모두 다르게 지정합니다.
라벨링 툴로 유명한 LabelImg와 Yolomark가 있고 “그냥 담아” 프로젝트를 진행할 때는 LabelImg로 진행하였습니다.
LabelImg 설치 방법 : 참고링크
– https://deftkang.tistory.com/181
LabelImg로 실행하면 아래와 같은 화면을 볼 수 있습니다.
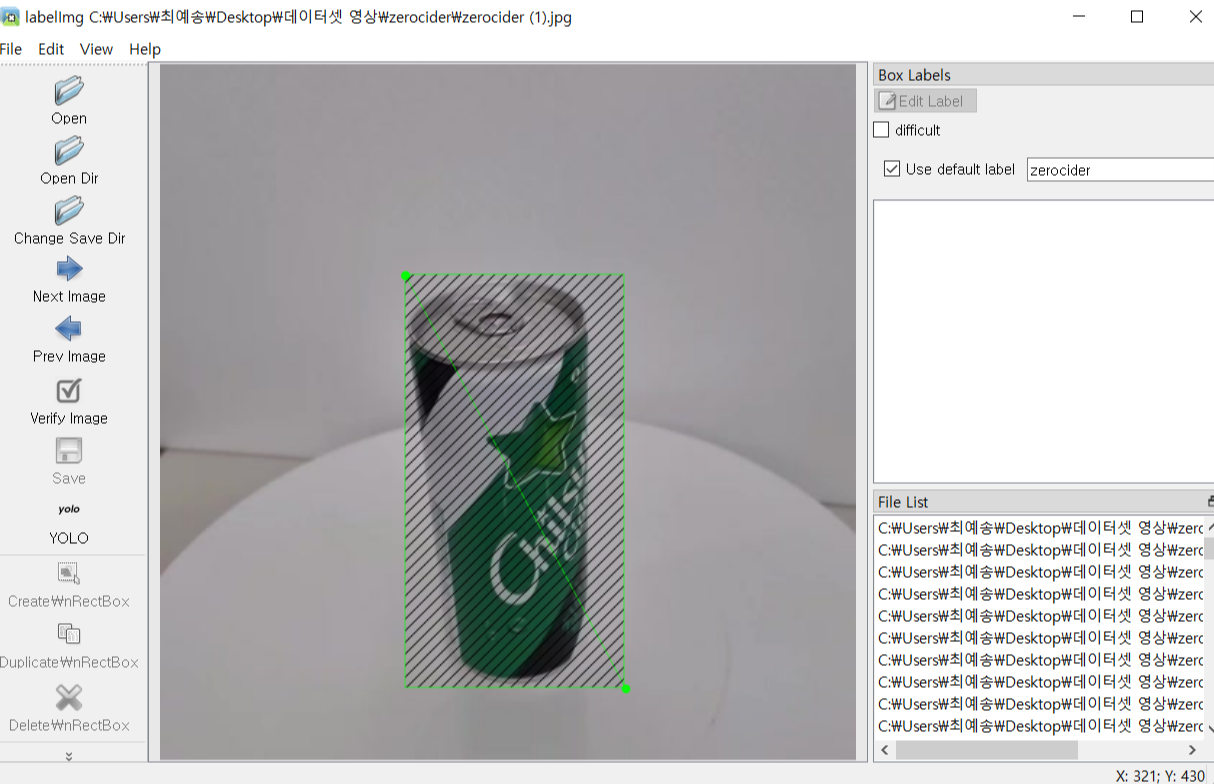
오른쪽에 Use default label에 원하는 class 이름을 넣고 왼쪽 설정을 YOLO로 바꿔준 뒤 w를 눌러 line을 띄워서 원하는 구간을 라벨링합니다.
다음과 같은 방법으로 “그냥 담아” 데이터셋는 15000장을 수집하였습니다.
:exclamation: 각자의 컴퓨터 라벨링을 진행하면 첫번째로 라벨링한 물체의 class는 0이 되어 모두 같은 클래스를 갖게 됩니다.
각 클래스마다 번호를 부여하기 위해 다음과 같은 코드를 사용했습니다.
# class 번호 지정
for i in range(1, 774): #파일이름번호
    s = str(i)
    filename="C:/kancho/kancho ("+s+").txt" #파일이름 지정
    with open(filename, "r") as f:       #파일 읽어서 각 문자열 리스트로 저장
        xs = f.read()
        strings = xs.split()
    with open(filename, "w") as f:       #내용수정
        f.write("6" + " ")               #맨 앞에 필요한 class 숫자 씀
        for string in strings:
            if string != "0":            #필요없는 숫자만 빼고 리스트에 들어있는 문자열 다시 씀
                f.write(string+" ")
위와 같은 과정을 모두 진행한 후 모델을 학습합니다.
댓글남기기